Showing posts with label Muffins. Show all posts

Friday, March 21, 2014

March Muffin Madness With Gluten Free Easily!


I am so excited to be a part of Shirley Braden's March Muffin Madness over at her amazing site: Gluten Free Easily.

Every day this month Shirley has been featuring a different muffin recipe from various gluten free bloggers. It's been so fun to check out each recipe - they are all so different and they all look delicious. Check them all out and be sure to comment on her posts as she has some amazing prizes lined up!

And spend some time on Gluten Free Easily. I've told many friends that I wish I'd known of it when we first went gluten free. Not only does Shirley have dozens of her own wonderful recipes, she features lots of other bloggers on GFE Facebook page and her all dessert site: All Gluten-Free Desserts All the Time!

Shirley will be featuring one of my very favorite, high protein muffins, my Sneaky Chocolate Peanut Butter Muffins.  My family cannot taste the sneaky ingredient and I love that they're getting extra nutrition.

Now, go! Check out March Muffin Madness and all the wonderful muffin recipes! Enjoy!


Thursday, July 18, 2013

Gluten Free Blueberry Muffin Bread!

It's good to be a ChaCha for so many reasons. I loved the name the very moment my Ev gave it to me three years ago and I adore that his sweet and sassy little sister yells "my ChaCha" and comes running when I pick her up from camp. Ev will tell you it is a very good name and he's excited (and just a little proud) that our soon to be grandbaby Aiden will be calling me ChaCha when he's old enough.

Being ChaCha has it's perks, too!  When Ev and Ollie went blueberry picking at Herndon Hills Farms last week, Gabby gave me a huge bag of the most gorgeous, freshest blueberries I've seen in a long time. While I haven't been to Herndon Hills Farms, Gabby vetted the farm and they use only natural materials approved by the OMRI (Organic Materials Review Institute) and are working towards organic certification. Gabby's photos show how beautiful the farm is, too. Lucky for me, Evan and Ollie can pick a lot more berries than they can eat! Can you see that Ollie can hardly hold up her own bucket!?!


I wanted to make some gluten free coconut flour muffins, similar to these but with a splash of lime juice and chock full of blueberries. Since I had just washed the loaf pan and it was still on the counter, I used it instead of the muffin pan and liners, although this recipe should make twelve muffins easily.

And please take a moment to read Pam's blog at I'm A Celiac on the Gluten Free and Allergen Free Wellness Event next month in Durham! It's a wonderful blog to sit and explore when you have some time. In this post, Pam's got lots of information and some really helpful tips for first time visitors. It would be wonderful to see lots of friends there!


Gluten Free Blueberry Muffin Bread

Heat oven to 400 degrees
This lemon "glaze"? Will tell more soon!
Grease a Pyrex loaf pan with Coconut Oil 

1/2 cup Coconut Flour
1/4 teaspoon Sea Salt
1 Teaspoon Baking Powder
6 Eggs
1/2 cup Coconut Milk, canned
1/3 cup Sugar
1 Tablespoon Lime Juice
1 Tablespoon Vanilla

Combine all ingredients in bowl of Kitchenaid mixer on low speed to combine.  Increase speed to medium high for two minutes or until smooth. 

Gently mix in.

1 Cup Fresh Blueberries 

Pour into greased pan and bake for approximately 50 minutes until golden brown. You can use a toothpick to test the center, but you'll know it's ready when you gently press on the center of the loaf and it feels firm.

Enjoy!

Monday, February 25, 2013

Monday Mix - Brit Bits!

Last night was one of those not nearly enough sleep nights for me. Nights like that generally result in carb craving days and today was no different.

So I grabbed a bag of Pamela's Pancake and Baking Mix from the top shelf of the pantry.

Pamela's mixes are something I don't use weekly because I try to focus on whole foods that are naturally gluten free, but I always keep some on hand.

When we have non-gluten free friends over these mixes are perfect for keeping everyone happy. They do not taste or feel gluten free at all. I've mentioned Pamela's a few times here.

I tried to head it off the carb cravings with a healthy breakfast of kale and eggs with a little smoked salmon on the side. Such an easy protein breakfast - it's just one egg and a large handful of kale processed/pureed together and cooked just like scrambled eggs. Yummy and indulgent, but after a while I still needed to bake. I used Joe as my excuse for a carb fix. If I'm baking for Joe then it's got to be okay, right?

Joe really enjoys English muffins and biscuits and it seemed I could combine the two for something fast, easy and tasty. The dough mixed up in moments. I added some flax for more fiber and nutrition and kept the dough on the savory side by using extra virgin olive oil. Giving each side a quick browning on a hot cast iron pan gives them the look of an English muffin but the texture isn't too far from a biscuit even with all the flax meal. Since this recipe makes just six they won't be around too long. After a quick debate we named them Brit Bits.

Brit Bits
Preheat oven to 400 degrees and cast iron pan to medium heat on stove top.
Line baking sheet with parchment.
Makes six.

2 2/3 Pamela's Pancake and Baking Mix
3 Tablespoons Flax Meal
3 Tablespoons Oil (I used EVOO)
1 Cup Water

Divide dough into six portions and roll into balls, flatten slightly.

On a hot cast iron pan (mine is an over sized skillet so I could easily do three at a time) cook about a minute or two, flip and cook one or two more minutes - you just want them to have a nice golden color on each size.

Place each bit onto your parchment lined baking sheet as they are browned.

Bake approximately fifteen minutes - they'll feel pretty firm but not hard to the touch.  Let cool slightly.

Slice and toast as you would an English muffin. They were perfect with butter and jam for a mid-morning treat. Joe says they're even good plain.

Enjoy!


Tuesday, November 27, 2012

November Gratitude - Day Twenty Seven


I am ever so thankful for God's traveling mercies today and always. My amazing hubby travels by air on a weekly basis and I am so grateful that each and every week he makes it home safely. Today my Feks flew home from a long and busy visit with family and while their trip home was squishy at times, they made it here safe and sound.

I put together these muffins to drop by as an excuse to get some hugs from my Ev & O and I had to check out O's very first manicure thanks to her Auntie E! Her tiny little nails were different shades of blue and pink - just adorable! 

These muffins are a vegan version of my Sneaky Chocolate Peanut Butter Muffins. Just like the original, butternut squash is the sneaky ingredient - all that nutrition but you can't tell it's there. The flavor is very much like a chocolate peanut butter cup. 

This time I used finely milled golden flax seed and water instead of eggs. They baked up a little differently than the egg version. Surprisingly to me, they took much longer to bake and look a little flatter than the original recipe - in fact they rose and then collapsed a bit but they taste nearly identical. Joe said he liked them better this way!

The muffins call for baking soda and apple cider vinegar which may sound funny.  The chemical reaction between them give the muffins those wonderful tiny bubbles and soft texture of regular flour baking.  If you’re Feingold Stage 1 you can substitute any approved white vinegar.

I really don't think they need the chocolate chips if you're out - they're plenty chocolaty as is.

Vegan Sneaky Chocolate Peanut Butter Muffins
Preheat oven to 375 and line muffin tins with 16 papers.

Mix together with stand mixer or food processor until creamy:

1 16 ounce jar all natural Peanut Butter
1 can 15 ounce Butternut Squash Puree (or two cups home cooked and pureed)
½ cup Cocoa Powder
1/3 cup Organic Cane Sugar
4 tablespoons Finely Milled Flax Seed (I used golden)
2/3 cup Water
1 teaspoon Vanilla
1 ½ teaspoons Baking Soda
1 teaspoon Apple Cider Vinegar

Stir in:

1 cup miniature vegan Chocolate Chips (I used Enjoy Life)

Spoon evenly into 16 muffin tins and bake for approximately 25 minutes.  They will feel soft but not squishy and won’t get a browned crust at all.  Mine collapsed just a bit right before they were done. Let cool a few minutes before removing from tins - they'll firm as they cool.


Enjoy!

Monday, November 12, 2012

November Gratitude - Day Twelve


Today I am thankful for the opportunity to get back to baking for my family and friends. I love this coconut rich treat. Coconut flour, coconut oil and flaked coconut make this a moist and dense muffin or bar. As always, I like to use Tropical Traditions coconut products.

It's a quick and easy recipe and full of protein and fiber. Delicious for breakfast or an afternoon snack.

Coconut Macaroon Muffins
Preheat Oven to 400
Line muffin tins with paper liners or grease well.
24 regular or 48 mini muffins can be made.
Optional: Grease a 13 x 9 pan with coconut oil.

1 cup Coconut Flour
1/2 teaspoon Sea Salt
1 teaspoon Baking Powder
12 Eggs
1 cup Coconut Oil, melted if solid
1/2 cup Organic Cane Sugar
1 tablespoon Vanilla
1/2 cup Shredded Coconut Flakes
1 cup all natural Mini Chocolate Chips

Combine all ingredients until mixed thoroughly. About two minutes in my mixer.

Your batter will be very thick. Fill muffin tins until almost full. Smooth the tops of the muffins with the back of a spoon or wet finger tips because they will not change shape or rise much.

Bake until golden brown. About 15 minutes for the larger muffins and just over ten for the minis in my oven. A 13 x 9 pan takes about 35 minutes.

Enjoy!


Friday, March 23, 2012

Pecan Pie Muffins


Ever since I made Leah's Pecan Paleo Bread I've wanted to do more baking with pecan meal. Originally I was just going to process some pecans and use them in one of my usual almond meal recipes but as I was pulling out my ingredients I spied my coconut flour. Thinking it might make a lighter crumb than pecan meal alone I decided to experiment a bit. The combination made for a high protein and delicious muffin. Subbing pecans for almonds also makes these muffins Feingold Stage 1, gluten free, dairy free and grain free. 


I decided to substitute honey for the usual organic sugar to give the muffins more of a pecan pie flavor.  I've been cutting sugar back even more lately in my baking and cooking and I think these are just sweet enough.  If you have a sweet tooth you can add a bit more honey or a handful of chocolate chips.


Next time I make them I'll use my whoopie pie pan and fill them with my Coconut, Chocolate & Pecan Spread for a healthy but decadent tasting treat.

Preheat oven to 400 degrees
Line muffin tin with 12 paper liners

8 ounces Pecan Pieces
1/2 cup Coconut Flour
6  Extra Large Eggs
3 Tablespoons Coconut Oil
1 Tablespoon  Vanilla (I make my own so I know it’s gluten free)
3 Tablespoons Honey
½ teaspoon Sea Salt
1 teaspoon Baking Soda


In a food processor, chop pecans until they resemble a coarse crumb.  Add pecan meal and all other ingredients into mixing bowl and mix until just blended.


Divide into prepared muffin liners and bake for approximately 15 to 20 minutes or until lightly browned and firm to the touch.


Enjoy!


Tuesday, February 14, 2012

Coconut Flour Muffins with Cranberries, Pecans & Chocolate Chips


Happy Valentine’s Day!  

Today I made these muffins for some of my favorite Valentines. They are easy, gluten free, grain free, dairy free, high protein (coconut flour, eggs and pecans), lower fat (by subbing canned coconut milk for oil) and oh so yummy!

Coconut Flour Muffins with Cranberries, Pecans & Chocolate Chips

Heat oven to 400 degrees
Prepare 2 cupcake pans with 24 paper liners 

1 cup Coconut Flour
½ teaspoon Sea Salt
1 Teaspoon Baking Powder
12 Eggs
1 cup Coconut Milk, canned
2/3 cup Sugar
1 Tablespoon Vanilla

Combine all ingredients in bowl of Kitchenaid mixer on low speed to combine.  Increase speed to medium high for two minutes or until smooth. 

Add:
¾ cup Dried Cranberries, Chopped
¾ cup Pecans, Chopped
¾ cup Mini Chocolate Chips

And mix thoroughly. Pour nearly to the brim into prepared pans and bake at 400 degrees for a approximately 20 minutes.

Enjoy!

Wednesday, October 5, 2011

Sneaky Chocolate Peanut Butter Muffins


This is my new love – a healthy muffin that tastes like a peanut butter cup! Using butternut squash is the sneaky part. Years ago when we were beginning our journey to better health I found this recipe on Pecan Bread.  It was fast and full of protein so it made me happy – it tasted like a regular banana muffin to my family so they were happy.  It was an easy recipe to adapt depending on what type of nut butter I had on hand and what type of fruit or veggie was handy.  Carrot pulp straight from the juicer was actually a favorite – they were just like little carrot cakes.  I made dozens of them in all shapes and sizes and flavors and eventually just stopped making them and forgot about them.

Today I checked out the Pecan Bread site for a friend and saw my old favorite.  I realized it was the perfect base recipe for an idea I had been playing with.  I wanted to sneak butternut squash and all the vitamins and minerals it contains into a muffin.  I also wanted a peanut butter cup flavor but not an overly sweet muffin.  These came out exactly as I’d hoped.

They call for baking soda and apple cider vinegar which may sound funny.  The chemical reaction between them give the muffins those wonderful tiny bubbles and soft texture of regular flour baking.  If you’re Feingold Stage 1 you can substitute any approved vinegar.

Sneaky Chocolate Peanut Butter  Muffins
Preheat oven to 375 – prepare muffin tins

Mix together with stand mixer or food processor until creamy:

1 16 ounce jar all natural peanut butter
1 can 15 ounce butternut squash puree (or two cups home cooked and pureed)
½ cup cocoa
1/3 cup organic sugar
4 eggs
1 teaspoon vanilla
1 ½ teaspoons baking soda
1 teaspoon apple cider vinegar

Stir in:

1 cup miniature chocolate chips (I used Enjoy Life)

Spoon into 18 muffin tins and bake for approximately 15 minutes.  They will feel soft and won’t get a browned crust.  Test with a toothpick to be sure.


Enjoy!

Wednesday, September 7, 2011

Mini Chocolate Chip Pumpkin & Ginger Muffins!


Once Labor Day is behind us it really starts to feel like fall to me - even though it's still pretty hot and humid here. We start some of our homeschooling classes in August because our enrichment activities start early.  After Labor Day weekend our full routine is kicks so now it is time for fall and pumpkin! These mini muffins are the kind of breakfast and snack I love - easy to make, easy to grab and packed full of nutrition.

While I made them in a mini muffin pan today, you can make them larger or even spread the batter into a 13 x 9 pan.  Just adjust the baking time accordingly.

Pumpkin not only tastes like everything wonderful about fall, it's packed with nutrition and fiber. No butter or oil is needed because the pumpkin keeps everything moist and delicious. The crystallized ginger sweetens and spices up the muffins at the same time. I minced the chunks of ginger until they were the size of the mini chocolate chips so the flavors would be evenly distributed.  Enjoy Life mini chips are perfectly sized for mini muffins.

Mini Chocolate Chip Pumpkin & Ginger Muffins
Preheat oven to 375 degrees
Prepare muffin pan by greasing or lining with paper liners

1 lb. Almond Meal
6 Eggs
1 cup Reed's Crystallized Ginger, very finely minced
1 can Pumpkin (15 ounces)
1 T Honey
1 T Vanilla
1 T Baking Soda
1/2 t Sea Salt
1 cup Chocolate Chips

Mix everything but Chocolate Chips together until well combined. Stir in chocolate chips and spoon into muffin pans.  Four dozen little mini muffins baked in just under 15 minutes in my oven.

Enjoy!

Happily shared on Gluten Free Wednesdays at Gluten Free Easily!

Sunday, March 27, 2011

Thumbprint Muffins


Baking something is a nearly daily event in my kitchen and has really become pretty automatic.  It makes life so much easier to have grab and go muffins for breakfasts and snacks.  Baking with almond meal makes for substantial, nutritious muffins that we all love.  As I quickly gather my ingredients, made easier because most of my ingredients are near my Kitchenaid Mixer and the oven, I start deciding which variation to make.  

On Friday I thought of thumbprint cookies and decided to put a dollop of jam or preserves in the center of each muffin.  Ev came over and helped and Gabby and I chatted as we finished making them.  The resulting muffins were easy, messy and yummy.


Thumbprint Muffins
Makes 24 messy muffins

Preheat oven to 400 degrees
Line muffin tins with 24 paper liners

1 lb.      Pkg  Almond Meal
6           Eggs
3/4 cup  Grapeseed Oil
1 T         Vanilla (I make my own so I know it’s gluten free)
½ cup    Sugar
½ t        Himalayan Salt
1 T        Baking Soda
1 cup    Your favorite low or no sugar, natural preserves

As always double check your ingredients and make sure they're all gluten free.

Mix all ingredients except your preserves until thoroughly blended.  Fill the muffin liners a scant half full and put one teaspoon of preserves in the center of each one.  I used raspberry for one dozen and apricot for the other.  Bake approximately 15 minutes or until just done.  

While baking take time to enjoy some music and play with your pup.  It makes time fly!  

Allow to cool as the preserves will retain heat for several minutes.  Play a game of Memory and they should be just about ready.

Enjoy!


Friday, March 4, 2011

Gluten Free Pizza and a Bake Fest with Marie!

Today’s post was going to be on pizza – only pizza – but then Marie came over to bake!  Marc and Marie are driving up to Ohio to see her family so I offered to bake some goodies for their road trip.  Marie being awesome offered to help.  We went just a little crazy and baked all of this and then some!


We made two batches of jalapeño jack cheese rolls per the recipe here.  Then we made another batch with sharp cheddar cheese and a touch of garlic – think Texas toast.  There were plenty for our dinner, sandwiches for them to take and some for our freezer. A batch of pizza dough was next – recipe below.  Marc and Marie can take the pre-baked crusts and make pizza easily and quickly with her sister later.   Check out the fun shape!


Marie took over the Kitchenaid and made two batches of muffins.  The first batch was her very own signature version of the Breakfast Cake recipe.  Like Joe’s version, Marie opted for white chocolate chips and crystallized ginger but she had brought over a bag of dried cranberries and added all of them. She then added coarse sea salt instead of the finely ground I usually use.  They baked up so moist and tender.  The sea salt crystals accented the white chocolate in the most amazing way!


Next up was a batch of these muffins.  Only while Marie mixed them up per the recipe I chopped salty peanuts to mix in and she added dark chocolate chips.  Yum!


And now to pizza….


Pizza was something I missed when I gave up gluten.  At that time there were gluten free pizzas in the freezer section but they tasted like cardboard and were completely overpriced.  They just weren’t interesting enough to bother with.  Later as my sons became gluten free there were more options and they were a bit better but still not very exciting or even close to what we used to order.  Now there are much better brands in the freezer case and at a few restaurants, too.  We're fortunate to have a couple of restaurants close by that have good gluten free pizza now.

But it’s really easy to make your own crusts and you’ll save a small fortune by doing so. This recipe simply uses the cheese bread recipe (again) with mozzarella cheese and a good flavorful olive oil.  It's a thick, chewy and cheesy crust which my sons and I love.

Does it seem everything I bake is just a variation of that first recipe?  Well, when you have a recipe that is simple, that consistently works and that you are comfortable with it just makes sense to play with it as a starting point.  Especially when you’re re-learning to bake and getting a grasp on the chemistry of gluten free baking.

I buy bags of tapioca flour an armload at a time so I always have some on hand for a quick roll, bread, pizza, etc.  Using the entire one pound bag makes for large quantities and for us that works well.  If you don’t have the large people with large appetites at your house that I have here, freeze part of what you bake.  Having a few pizza crusts, rolls or muffins in the freezer makes life so much easier.  These crusts are especially easy to freeze.  When you need a fast meal you can pull out one out, top and bake for a fresh, hot pizza in no time.  If you’re going to a party and everyone else is having pizza, make and bake your own to take.  You won’t feel deprived a bit.  Planning ahead makes gluten free living so much easier.

This is a really satisfying pizza.  The crust has a ton of cheese and eggs so it’s full of protein.  A couple of slices and a salad will be a filling, stick with you meal.

Gluten Free Pizza – Thick Crust
Makes 2 12 inch pizzas or more individual sized pizzas as you choose.
.
1 lb.    Tapioca Starch
1 lb.    Mozzarella Cheese, grated
1 T.     Baking Powder
6         Eggs  (allow to come to room temperature)
3/4 C  Olive Oil
2 T      Finely Milled Golden Flax 
2 T      Dried Oregano - optional
Dash  Garlic Powder - optional

Directions:

Heat oven to 425 degrees.
Line 2 baking sheets with parchment or silicone sheets or use 12.5 inch baking stones.
I did one 12 inch pizza on the stone and made three large individual pizzas on the sheet this time.

Place all ingredients in mixing bowl in order given.  Putting the Tapioca Starch in the bottom helps keep it from forming a cloud when you start the mixer. I use my Kitchenaid stand mixer on medium for about 2 minutes. 

Divide the dough in half and pat into circles if making two large pizzas.  Be creative and make them any size you like.  You can even try heart shaped pizzas for Valentine’s Day or anytime you want to show a little love. 

Bake until lightly browned.  At this point you can either top your pizzas and pop them back into the oven to brown or let them cool before freezing.

If topping a fresh from the oven pizza another ten minutes in the oven is usually plenty of time for golden brown cheese.  If baking a frozen shell you’ll probably need closer to twenty.  


Marie and Marc, be safe and have fun!
xoxoxox

Tuesday, February 8, 2011

Jumbo Peanut Butter Oatmeal Muffins


Here’s another simple and delicious gluten free recipe with no combination of gluten free flours or gums to mix.  In fact, no flour at all.  Gluten Free Oats are the main ingredient.  While oats are technically gluten free, it’s important to buy gluten free oats as they are often contaminated in the field and in processing.  

Like my breakfast cake it is a sweet treat in the morning but as muffins they are also a quick grab and go snack. This recipe combines peanut butter and oatmeal to duplicate the taste of Gabby’s famous Jumbo Cookies. Adding So Delicious Vanilla Coconut Milk gives just enough vanilla and sweetness.  The finely milled flax adds nutrition and gives the muffins a great texture.

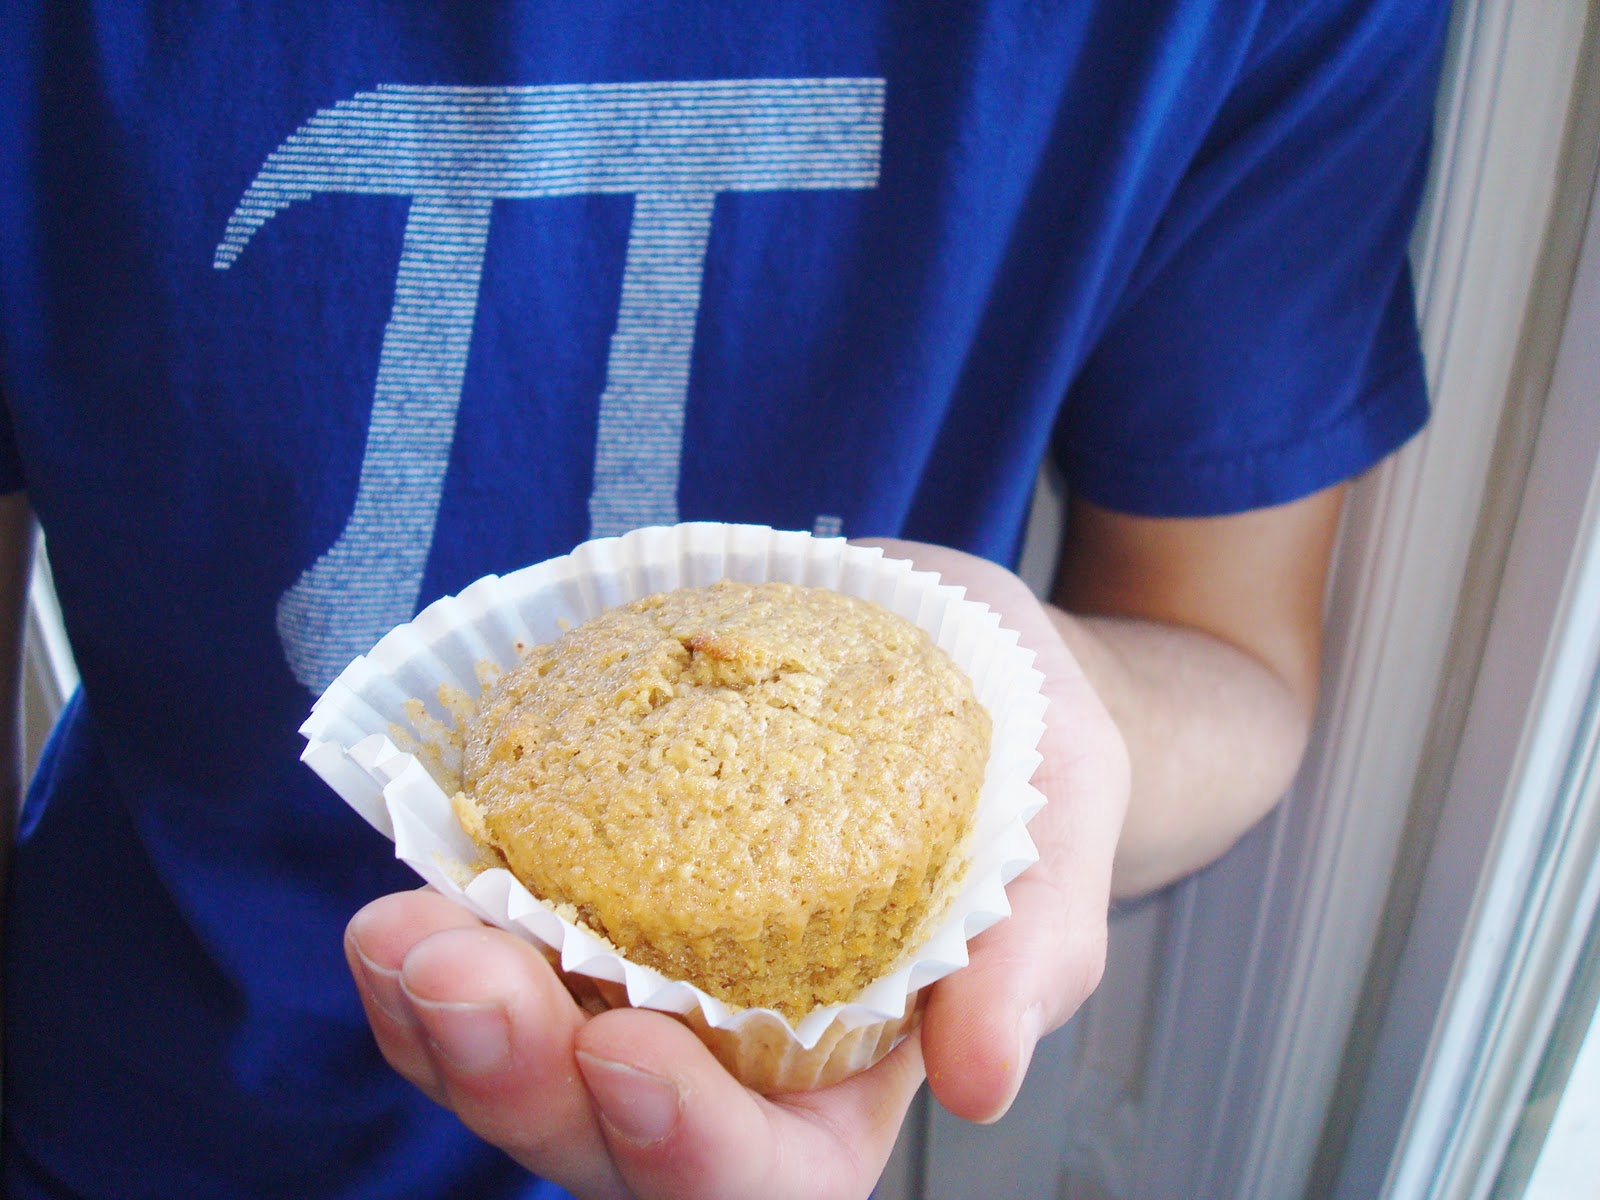
I have very tall muffin liners I found at World Market right now so I can fill the tins up to the very top and make 13 truly jumbo muffins as shown in the jumbo hand in the picture.  If you use regular sized liners (or have smaller appetites than my guys) you can make about 24 small muffins.

Preheat oven to 375 degrees.

In a large bowl mix:
4 large eggs
1 cup So Delicious Vanilla Coconut Milk*
½ cup grapeseed oil *
½ cup peanut butter
2/3 cup sugar

Add to bowl:
3 cups gluten free oats
6 T finely milled golden flax
2 t baking powder

At this point I briefly use my immersion blender and finish mixing with a spoon.  By using the blender for under a minute about half the oats will be finely chopped giving the final muffin a finer texture. (If you mix by hand they will have a larger crumb but be just as yummy).

Fill the liners and bake.  Jumbo muffins took 17 minutes in my oven.  Start checking smaller muffins thee or four minutes earlier.

* The last several times I've made these muffins I have omitted the So Delicious Vanilla Coconut Milk and the grapeseed oil and used 1 1/2 cups of light coconut milk from Trader Joe's. Lightening the fat and sugar content a bit without losing any flavor. I add a splash of vanilla most times. You can also bake in a 9 x 13 pan for about 25 minutes for breakfast bars. Especially good with mini chocolate chips.

Variation – dark chocolate chips make a very special treat!  Just add one to two cups of your favorite all natural chocolate chip or chopped dark chocolate.

This is a Feingold Stage 1 recipe - just make sure to double check your ingredients in your foodlist.

Everyone should always make sure all their ingredients are gluten free.

I do realize this would have made a better post on March 14th. =D

Grab a cup of tea and enjoy.